

Enabling receiving for a new domain
Receiving emails requires an extra MX record to work. You’ll need to add this record to your DNS provider.1
Verify your domain
If you have not already done so, add and verify your
domain.
2
Navigate to the Domains page in your Dashboard
3
Copy the MX record
4
Paste the MX record into your domain's DNS service
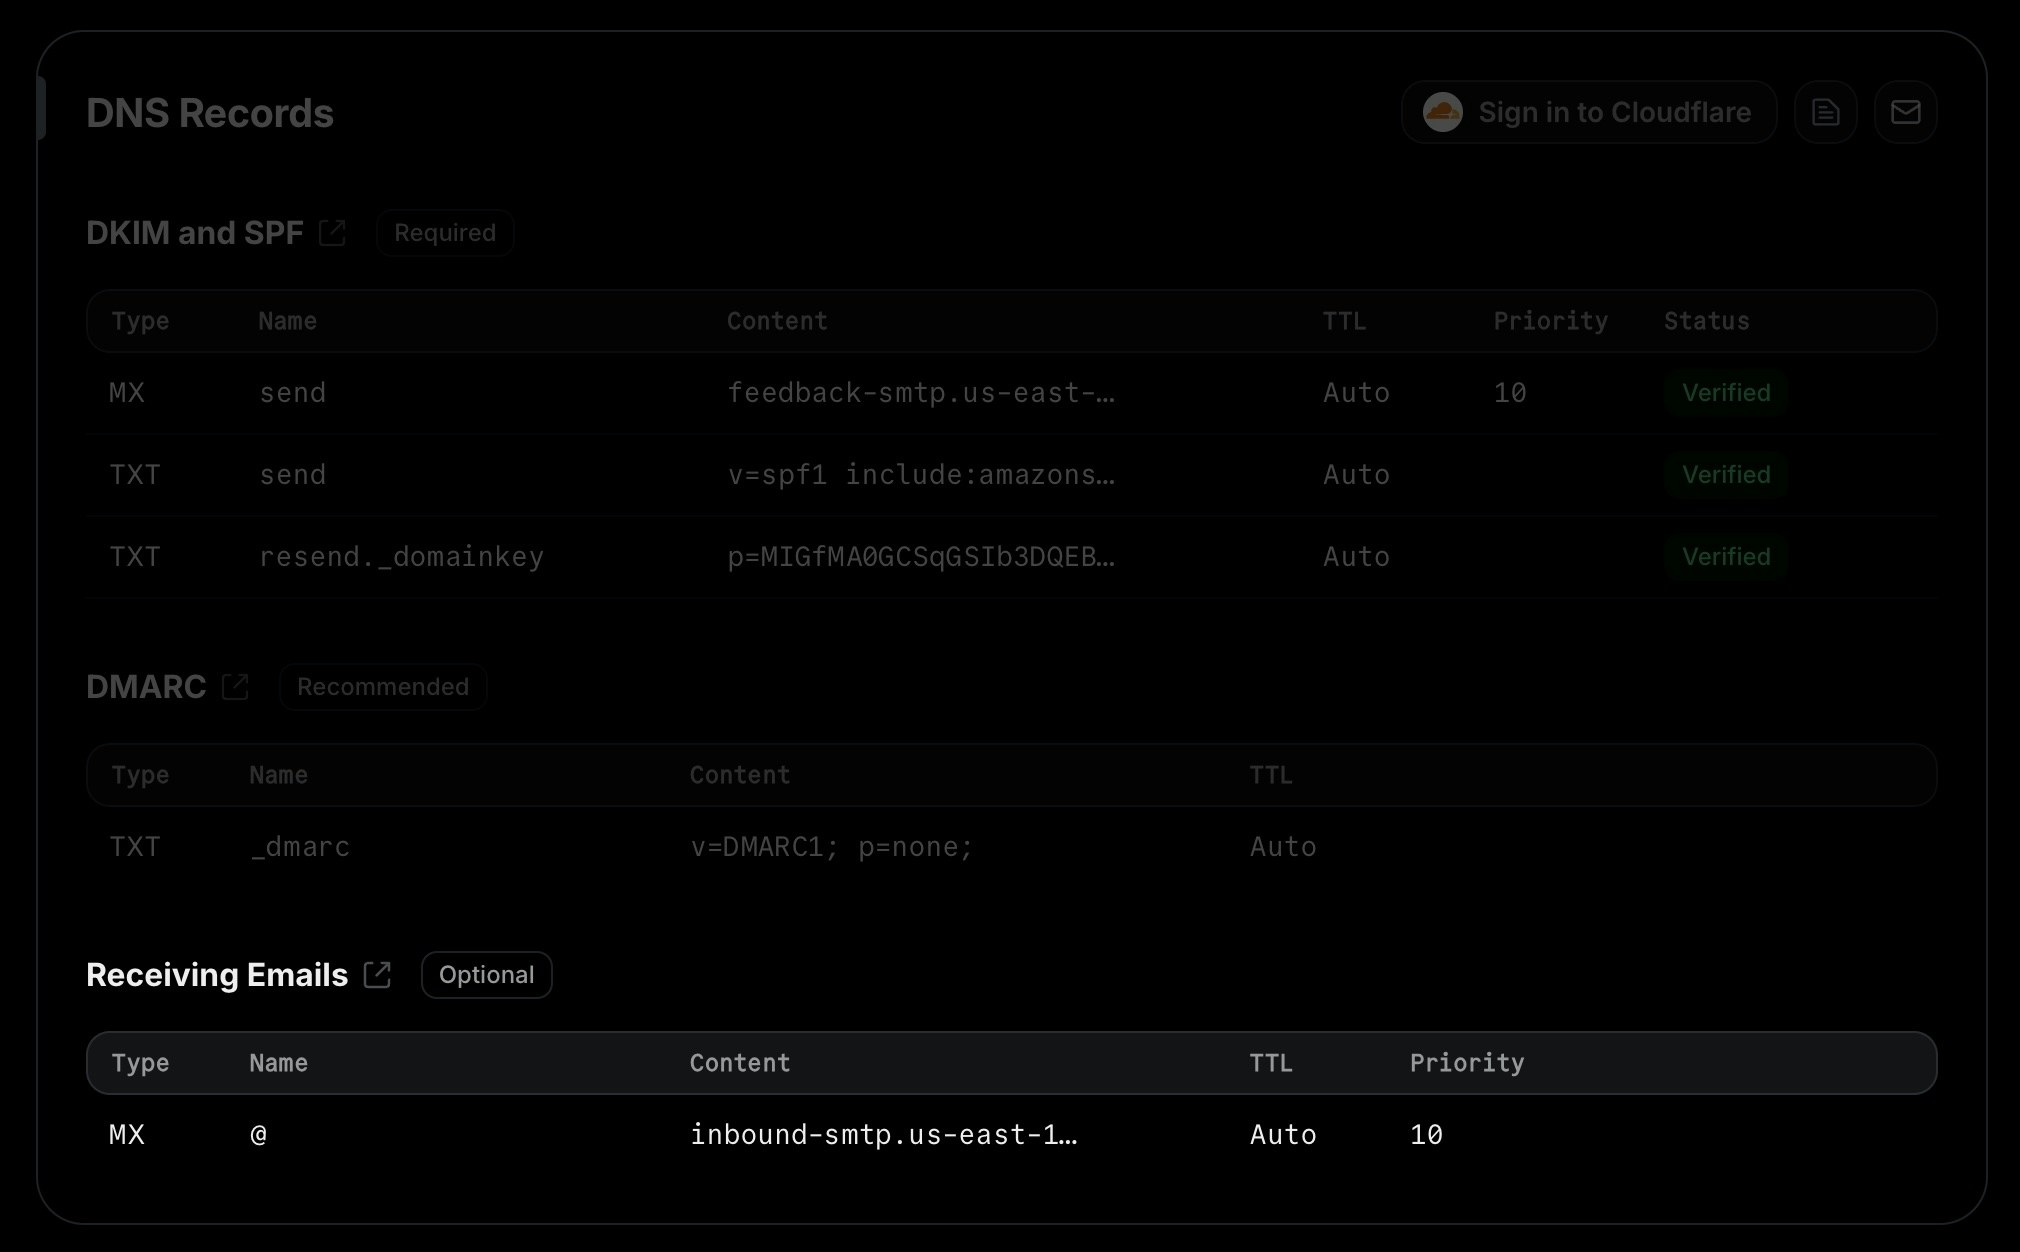
Enabling receiving for an existing domain
If you already have a verified domain, you can enable receiving by using the toggle in the receiving section of the domain details page.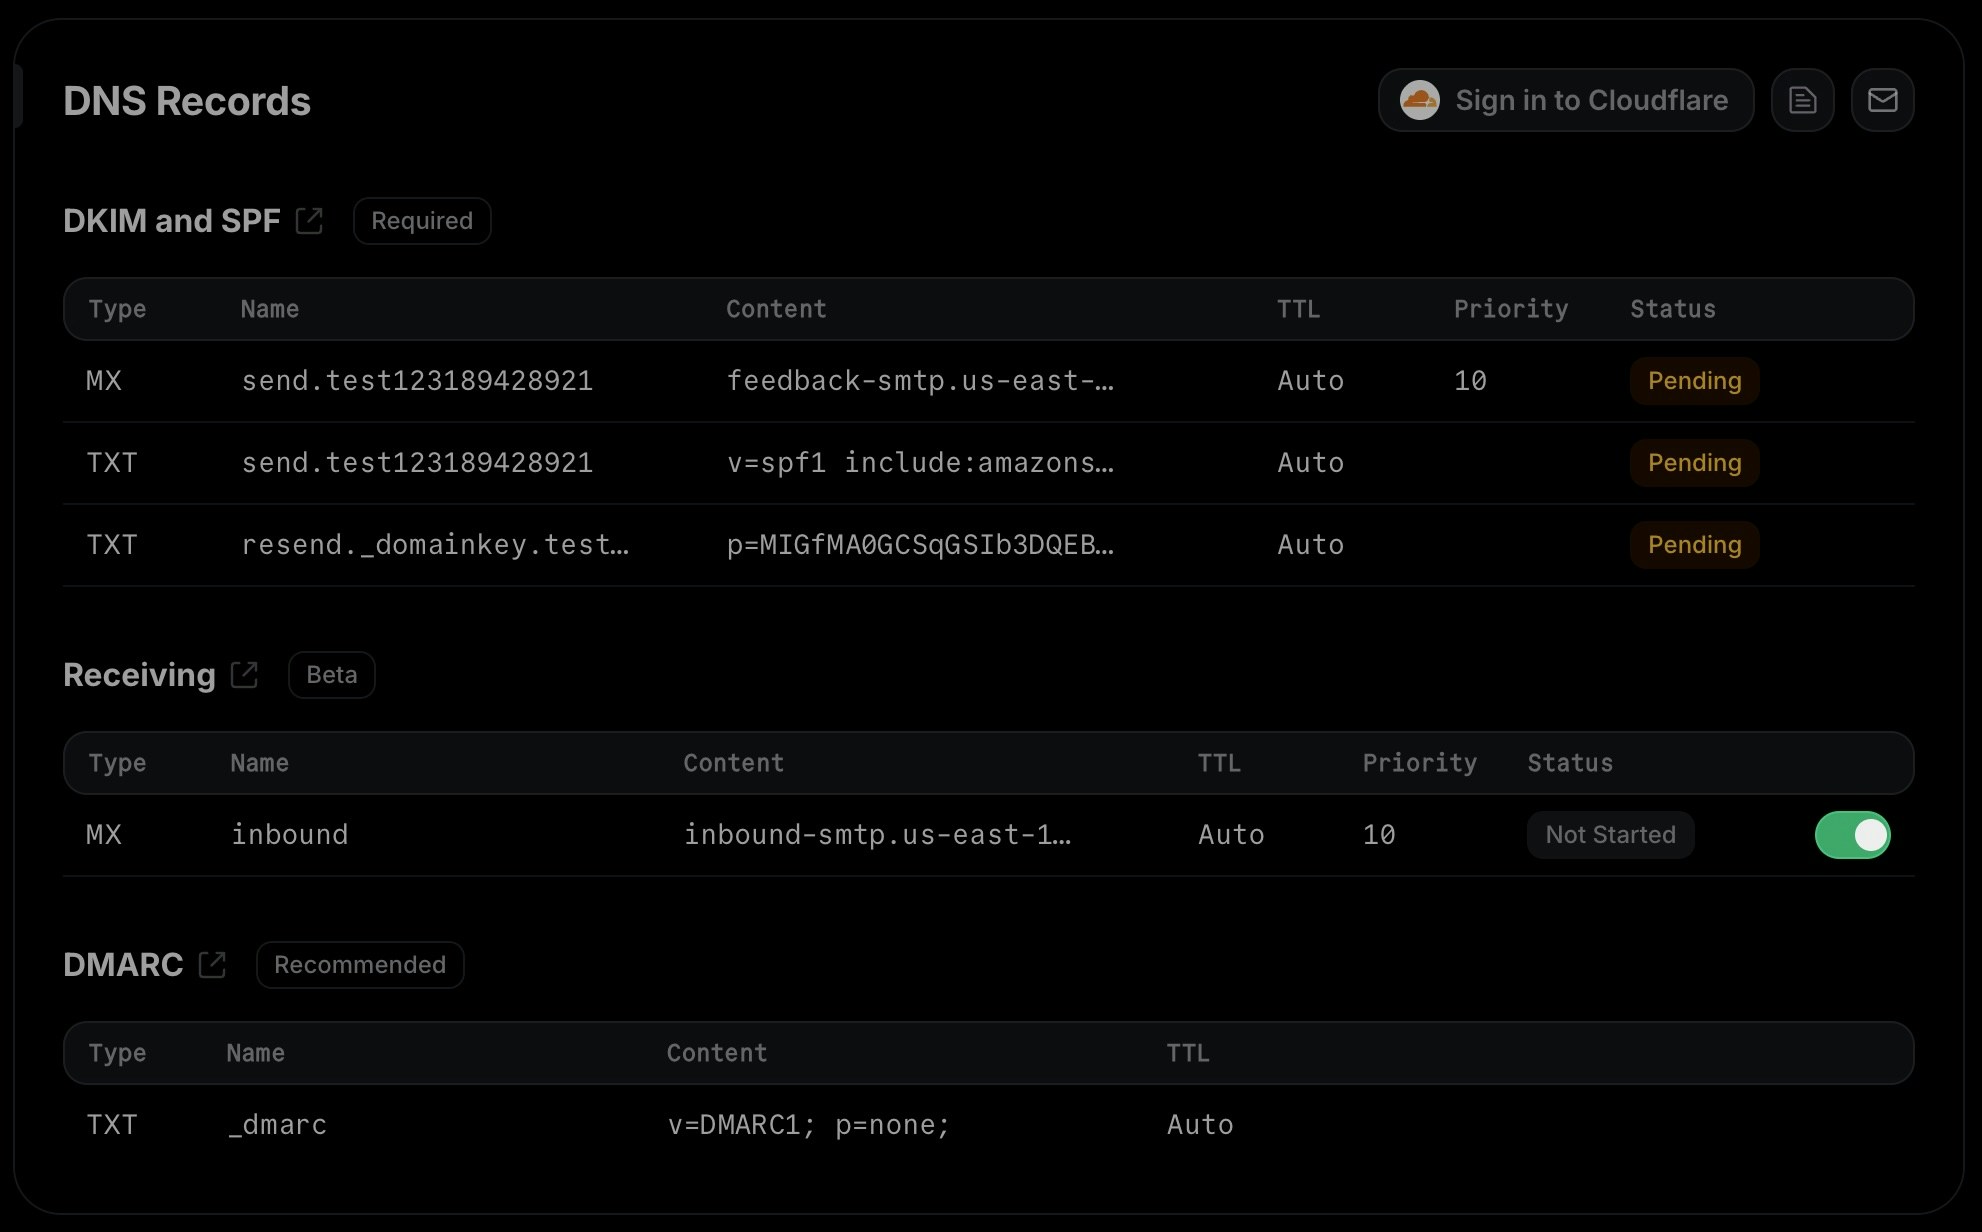
FAQ
What happens if I already have MX records for my domain?
What happens if I already have MX records for my domain?
If you already have existing MX records for your domain, we recommend that you
create a subdomain (e.g.
subdomain.example.com) and add the MX record
there.That’s because emails will usually only be delivered to the MX record with the lowest
priority value. Therefore, if you add Resend’s MX record to your root domain alongside existing MX records,
it will either not receive any emails at all (if the existing MX records have a lower priority),
or it will interfere with your existing email service (if Resend’s MX record has a lower priority). If you
use the same priority, email delivery will be unpredictable and may hit either Resend or your existing email
service.If you still want to use the same domain both in for Resend and your day-to-day
email service, you can also set up forwarding rules in your existing email service
to forward emails to an address that’s configured in Resend or forward them directly
to the SMTP server address that appears in the receiving MX record.I have already verified my domain for sending. Do I need to verify it again for receiving?
I have already verified my domain for sending. Do I need to verify it again for receiving?
No, you do not need to verify your entire domain again. If you already have a
verified domain for sending, you can simply enable receiving for that domain,
add the required MX record to your DNS provider, and click “I’ve added the record”
to start verifying only the MX record.