

Configure Webhook
Once you can receive emails, you can create a route to handle these emails in your application and configure anemail.received webhook in your Dashboard.
Alternatively, you can use Resend’s code tools to create your webhook from the Webhooks API or with a webhook CLI command.
To configure your webhook in the Dashboard:
1
Create a route to receive emails.
In your application, create a new route that can accept Once you receive the email event, you can process the email body and attachments. You can also implement webhook request verification to secure your webhook endpoint.
POST requests.Here’s how you can implement this:2
Go to the Webhooks page in your Resend Dashboard
3
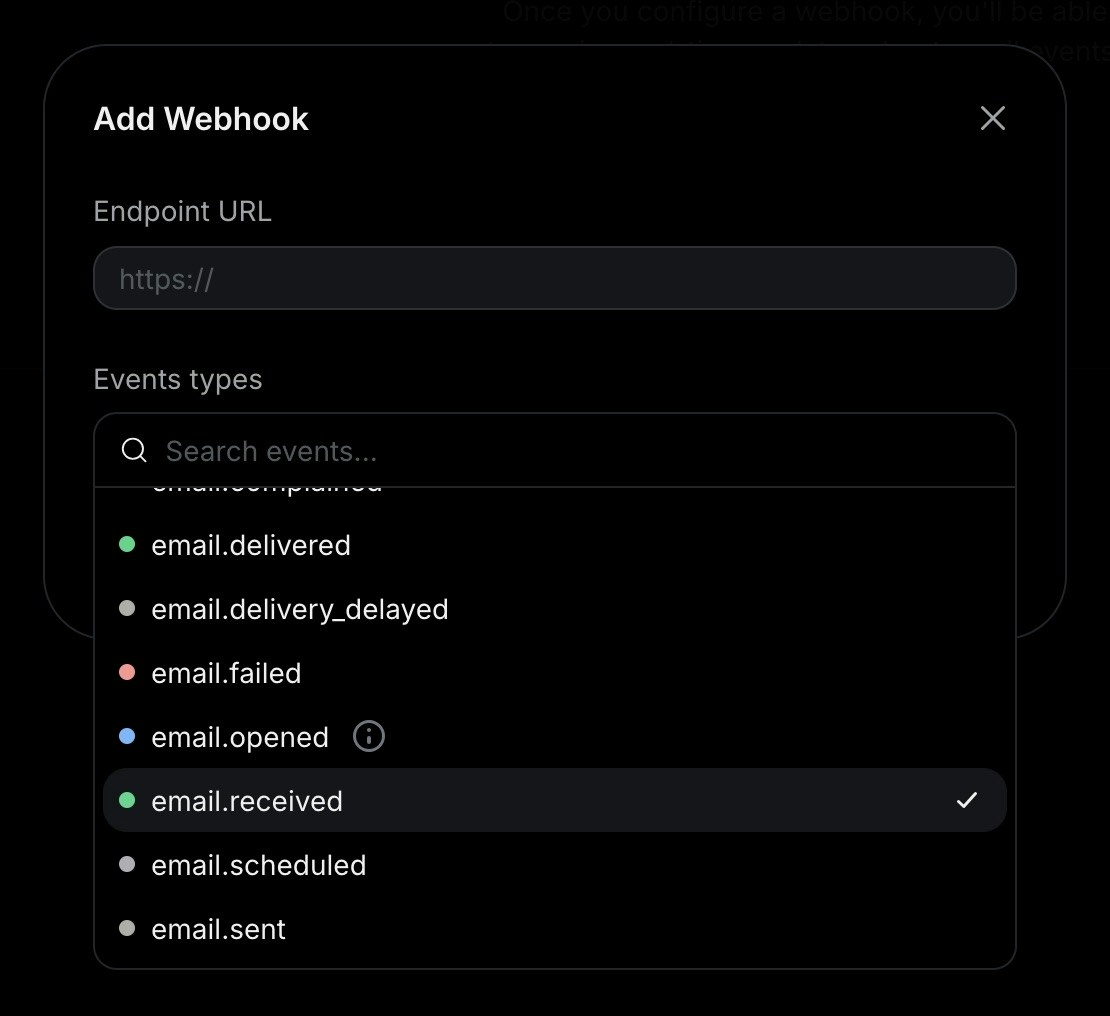
Click Add Webhook.
4
Enter the URL of the route you created for your webhook endpoint.
5
Select the event type `email.received`.
6
Click Add.
Webhooks do not include the email body, headers, or attachments, only their
metadata. You must call the Received emails
API or the Attachments
API to retrieve them.
This design choice supports large attachments in serverless environments that
have limited request body sizes.